Modern DIY Upgrade for Traditional Kitchen Cabinets
Buyer & Seller Tips
Buyer & Seller Tips
Published by Natalie Boyle, REALTOR®, Founder of Verso Homes (DRE #01329012)

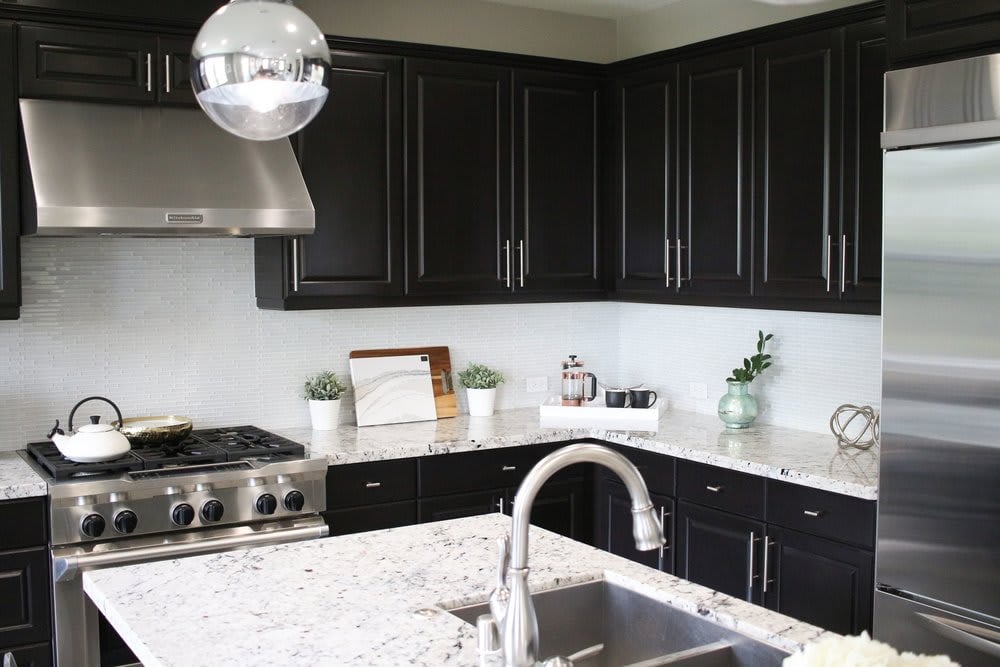
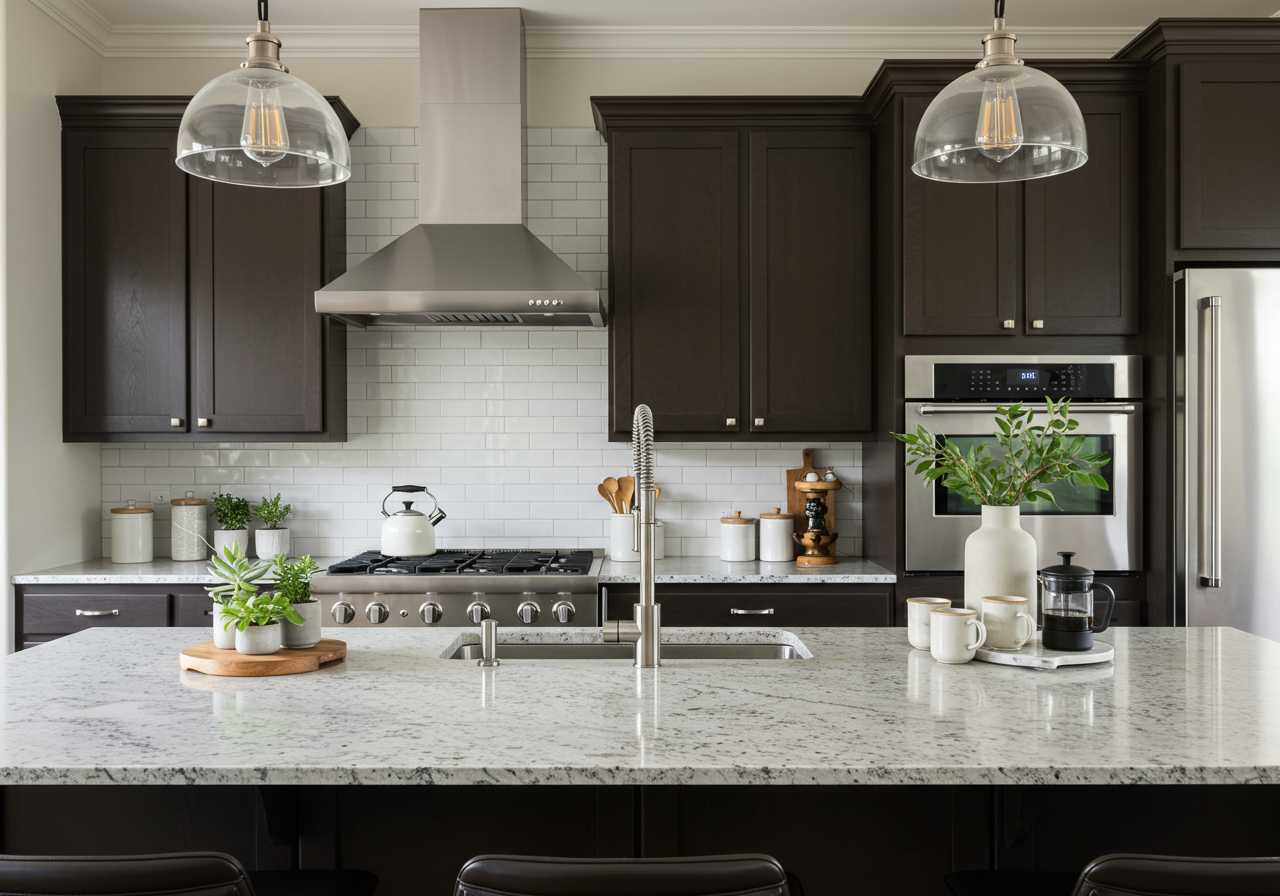
We are sharing a fun DIY project! My good friend Bethany with The Posh Home has amazing design style and taste! I asked for her help to highlight my modern style in my traditional kitchen without breaking the bank. Bethany suggested an easy way to achieve a fresh modern look on a budget: update the kitchen hardware.
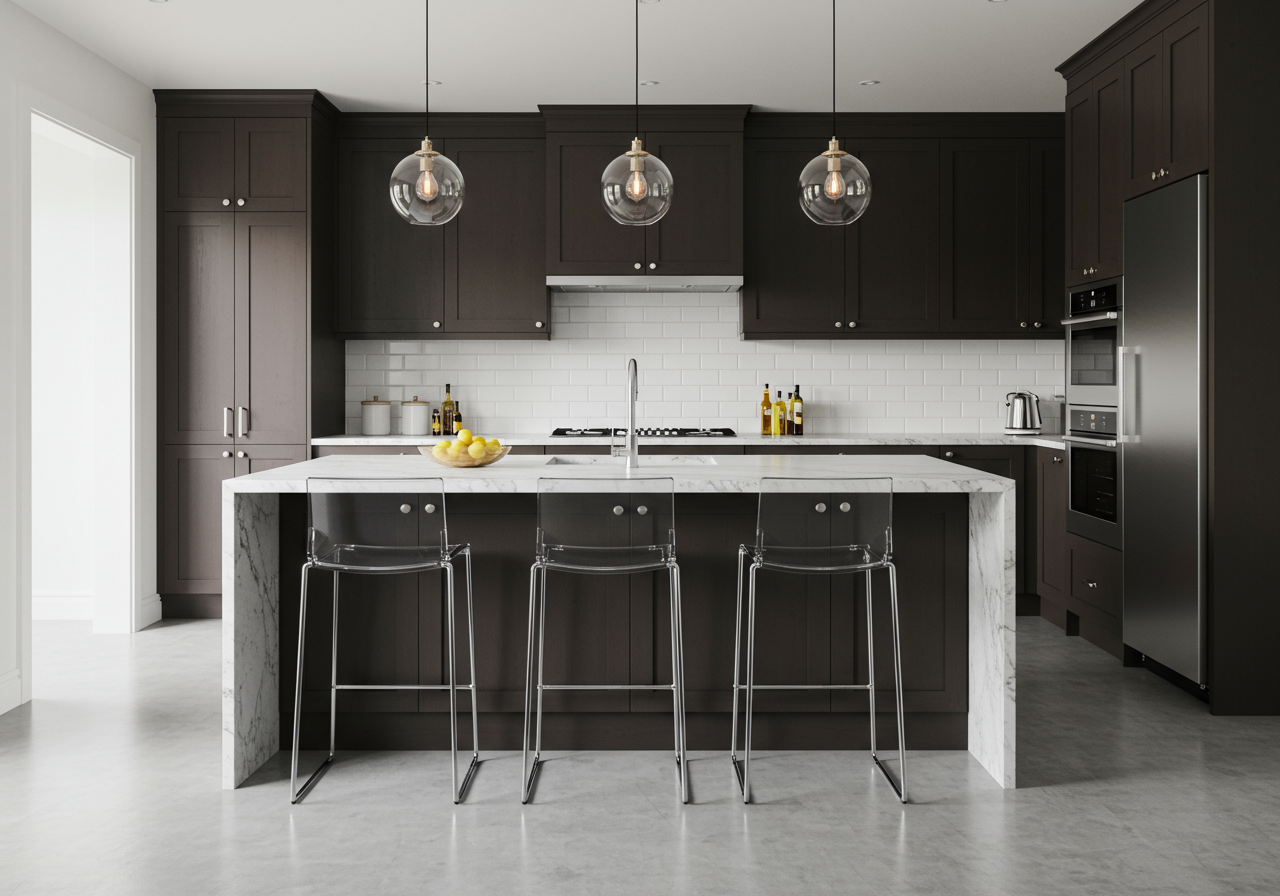
Once Bethany selected the new modern hardware for my kitchen, we decided it would be fun to DIY the project. This is an easy project that anyone can do with some essential tools. Wait until you see the before and after below! The new hardware Bethany selected made such an impact. We’re excited to share this Kitchen Hardware DIY Project with you.
Emtek kindly gifted the hardware; however, all opinions are our own.
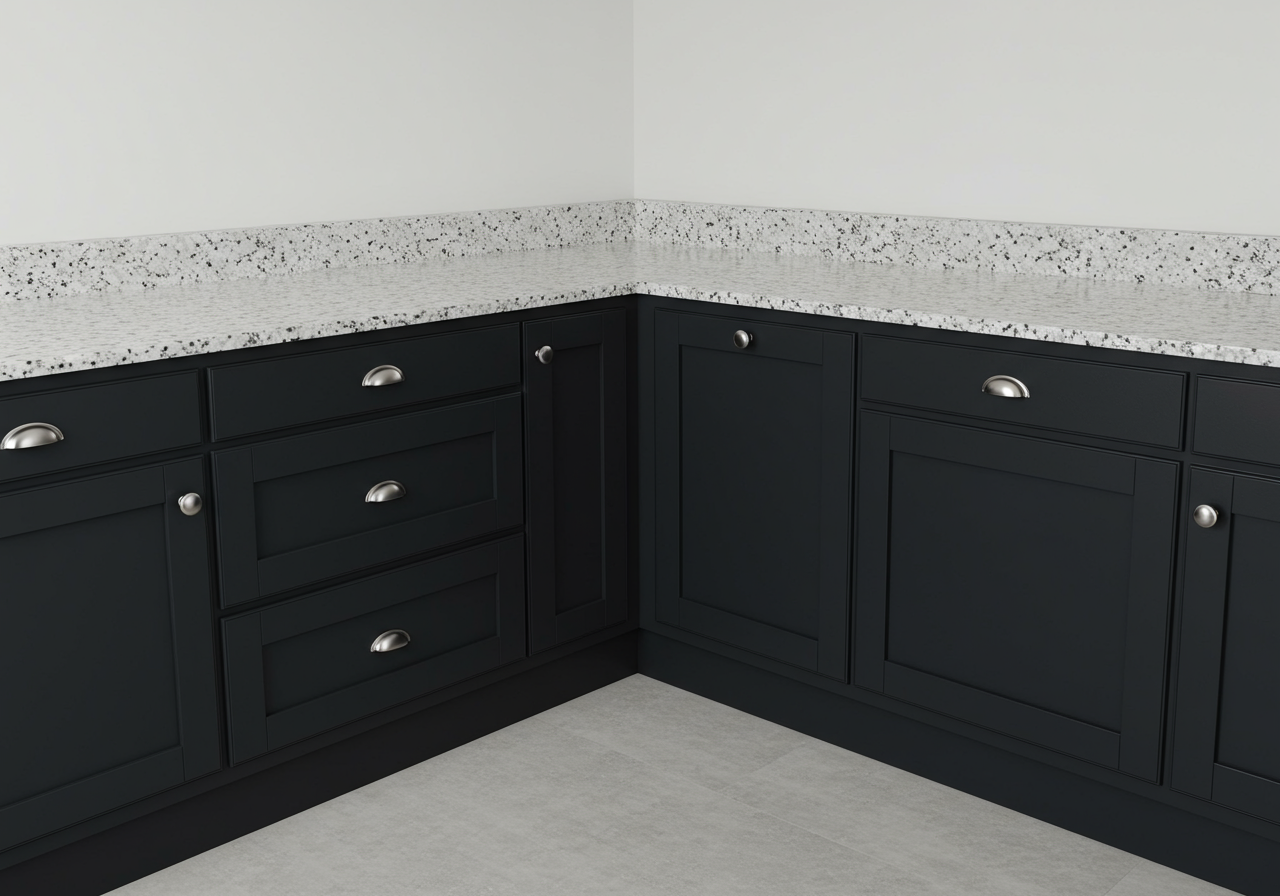
Center the pull or knob in both directions.
For drawers 22” and up, double up on knobs or pulls. Divide the drawer into thirds and position hardware on left and right sides.
Place hardware centered on the lower frame of the door starting above the inset.

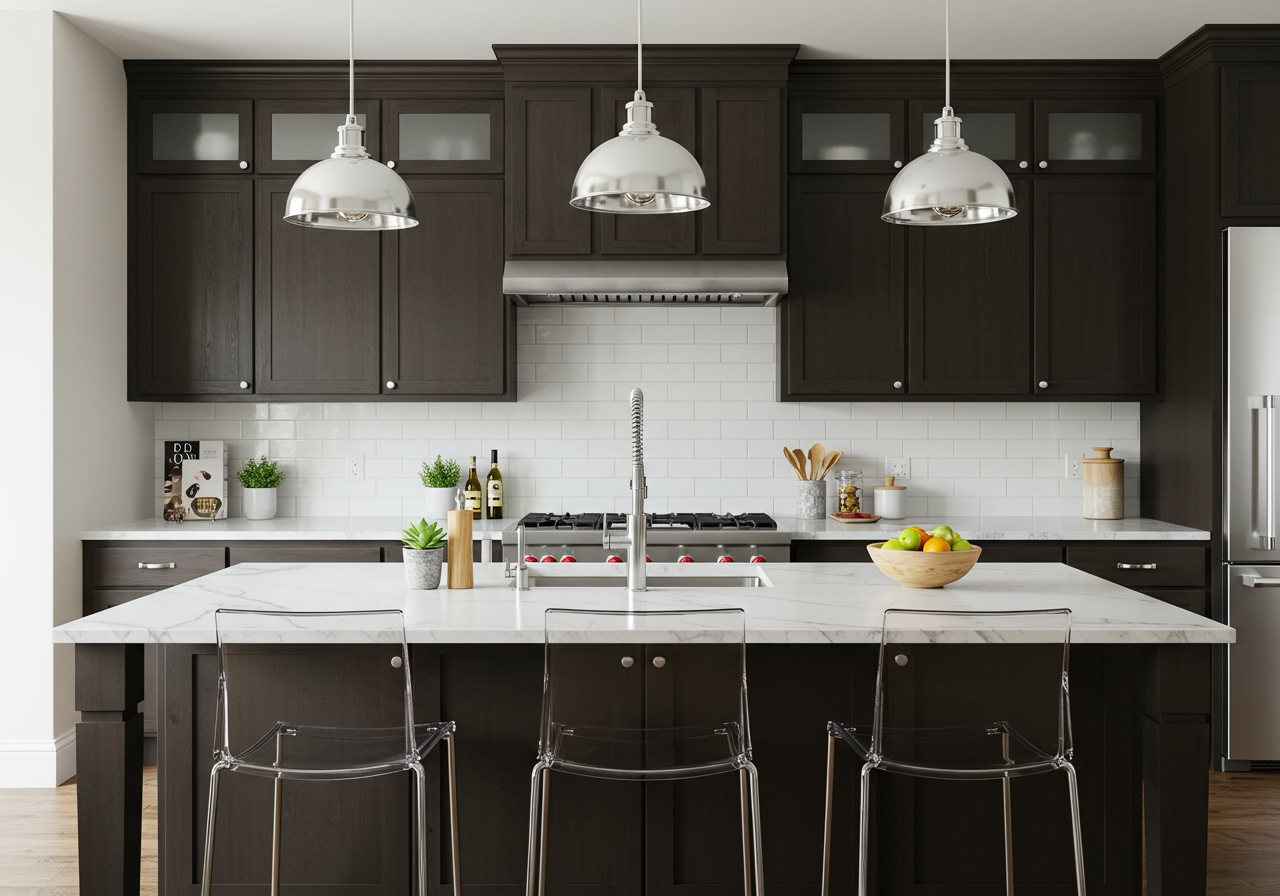
We hope you enjoyed this Kitchen Hardware DIY Project: How To Update Your Traditional Kitchen Cabinets With a Modern Twist on a budget.
xoxo,
Natalie & Bethany
Doing renovations on your home can make such a big difference, even if it’s as small as changing your cabinet hardware.
If you are thinking of buying or selling your home I’d love to help!

Stay up to date on the latest real estate trends.

March 6, 2026
From Kite Hill's $140/month flat fee to Bear Brand Ranch's guard-gated premium — here's exactly what HOA dues look like across every major Laguna Niguel neighborhood, … Read more

March 4, 2026
From resort-style amenities and top-rated schools to real estate prices and trail access to the beach — everything you need to know before buying in Marina Hills.

February 25, 2026
Everything you need to know about neighborhoods, schools, beaches, dining, and the real estate market in Orange County's most coveted coastal village.

February 20, 2026
A buyer's guide to neighborhood HOA dues, Lake Mission Viejo Association (LMVA) assessments, and what you'll really pay each month in Mission Viejo, CA.
February 18, 2026
Lake access, panoramic views, private amenities, and what buyers should know before moving in

February 13, 2026
A local breakdown of HOA fees, Mello-Roos taxes, and real monthly costs across Irvine neighborhoods

February 11, 2026
Living in Woodbury, Irvine: Homes, HOAs, and What Buyers Should Know

February 8, 2026
Neighborhoods, schools, home prices, and lifestyle insights from a local Irvine real estate expert

November 28, 2025
Explore Aliso Viejo’s best pet-friendly parks, trails, services, and neighborhoods for dogs, cats, and every furry family member.
You’ve got questions and we can’t wait to answer them.